
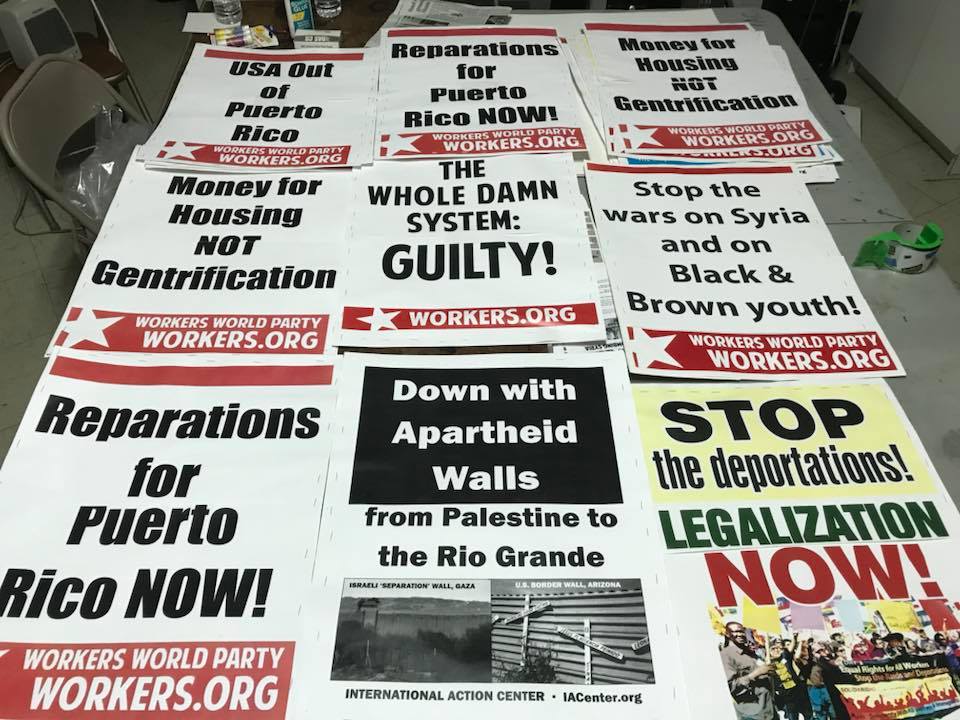
Making Placard Signs
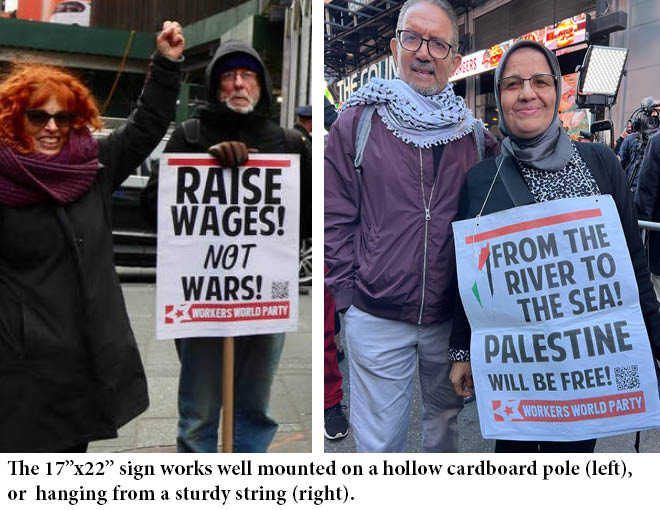
Most WWP branches generally make 17″ x 22″ placards (or slightly larger) to go on poles. Here’s the general instructions. Adjustments will be needed to print placards of other sizes.
- Print the design onto 8.5″x11″ (letter) paper. Printing from PDF is recommended, but sometimes image formats are also available in our collections.
- Fold over the sheet in half.
- Enlarge each 8.5″x5.5″ side at 200% to fit an 11″x17″ paper.
- Combine the two enlarged halves into a single sign. Glue, tape or staple them onto poster paper that’s about 17″x22″
- Staple two signs with consistent messages/signatures back to back. Leave room to insert a pole in the middle.
- Us a staple gun to attach signs to a pole.
- A sign attached to a picket with the same message front-and-back will allow cameras to capture the message whichever way we happen to be facing.
Some things to consider
- Black & white designs are cheaper to print than color designs
- Alternative to color design may be to print on a light color paper. Printing a B&W design on color paper is probably cheaper than printing a color design on white paper.
- Consider how much toner your design uses. Especially if printing in house, a heavy-on-ink design can use up toner very fast, which will impact cost, and slow down your process. You don’t want to run out of toner during a banner-making work session.